

")
")
")


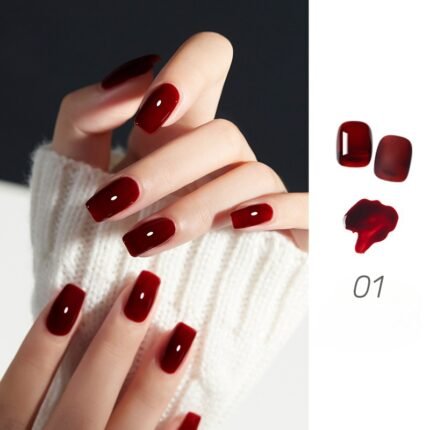
How to Use Stained Glass Gel Polishes
1. 【Preparation is Key】Start by preparing your nails. You may want to apply over acrylic, builder gel or natural nails. Shape them to your desired length and form, and gently buff the surface to remove any shine. Push back your cuticles and ensure your nails are clean and dry.
2. 【Apply a Base Coat】GS Girlsgel base coat or builder gel is essential to protect your natural nails and provide a smooth surface for the gel polish. Apply a thin layer and cure it under a UV or LED lamp according to the manufacturer’s instructions. You can skip this step if applying over acrylic nails.
3. 【First Layer of Stained Glass Gel】Apply a thin layer of stained glass gel polish to your nails. The key is to keep the layers thin to avoid bubbling and ensure even curing. Cure the polish under the LED Nail lamp.
4. 【Build Up the Color】To achieve the desired intensity, apply additional thin layers of the stained glass gel polish, curing each layer separately. Remember, the beauty of stained glass gels lies in their buildable nature, so take your time to layer until you get the perfect translucent effect.
5. 【Add Nail Art (Optional)】For a more intricate design, you can add nail art between the layers of stained glass polish. Use The 5 piece brush set or nail art stickers to create designs like flowers, geometric patterns, or abstract art. The translucent nature of the gel will give your designs a unique, multi-dimensional look.
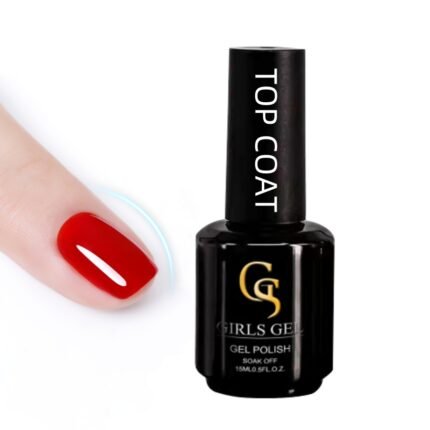
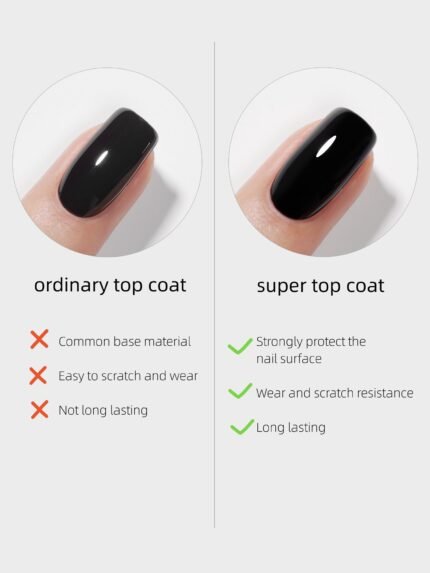
6. 【Top It Off With Super Gloss】Finish with a high-quality gel top coat to seal your design and add extra shine. Cure the top coat under your Nail Lamp to ensure a durable finish.
7. 【Clean and Nourish】After curing, wipe your nails with a cleanser to remove any sticky residue, super gloss doesn’t have a tacky layer so this step only applies for our other gel top coats. Finish by applying cuticle oil to nourish your cuticles and maintain healthy nails.


Reviews
There are no reviews yet.